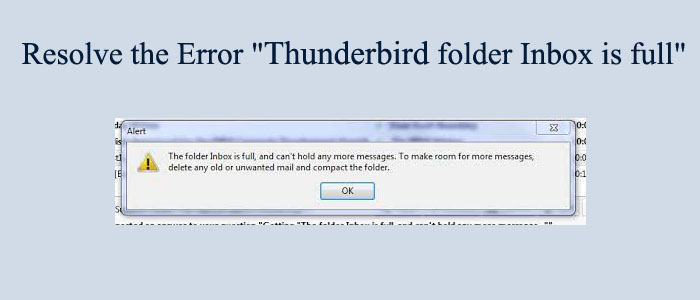
Summary: Thunderbird is one of the most sophisticated email clients to send and receive messages. The open source provides users robust security for their databases. However, some issues with Thunderbird annoy users. We have noticed one such issue and that is Thunderbird Inbox full error. In this article, we discuss solutions to the issue.
Several Thunderbird users have complained about receiving an error message stating no more space left for the Inbox folder to store the message. Hence, it prevents users to send and receive new emails. They are unable to use the Thunderbird application.
Reasons for Thunderbird folder Inbox Full Error
It occurs due to several reasons.
- The server is not accepting new emails.
- You may have created multiple Thunderbird accounts that you have not cleaned for years.
- Thunderbird mailbox folders have not filled or reached 4GB.
- Thunderbird has some issues or version issues.
How to Fix the Error?
Since the problem can hamper your work productivity, you need an immediate solution to fix it. Here are ways to follow.
1. Compact Your Thunderbird Folders
If you delete old or unused messages, Thunderbird marks them as erased or deleted emails. To increase the capacity of the email client, you must compact the folders. Avoiding compacting the size of your Thunderbird, can cause various issues and one of them is the Inbox full error. You can easily compact the size. Select the folder and right-click on it to select the Compact now option from the dropdown.

2. Recreating the Deleted Items Folder
When you delete items from your Thunderbird, it goes to the trash folder. Once the trash folder is full, it doesn’t let you delete items. Therefore, you can fix the issue by recreating the deleted items folder.
Below are the steps to follow-
- Access your Thunderbird account.
- Press the three lines on the top-right and go to Help and then Troubleshooting Information on the home screen.
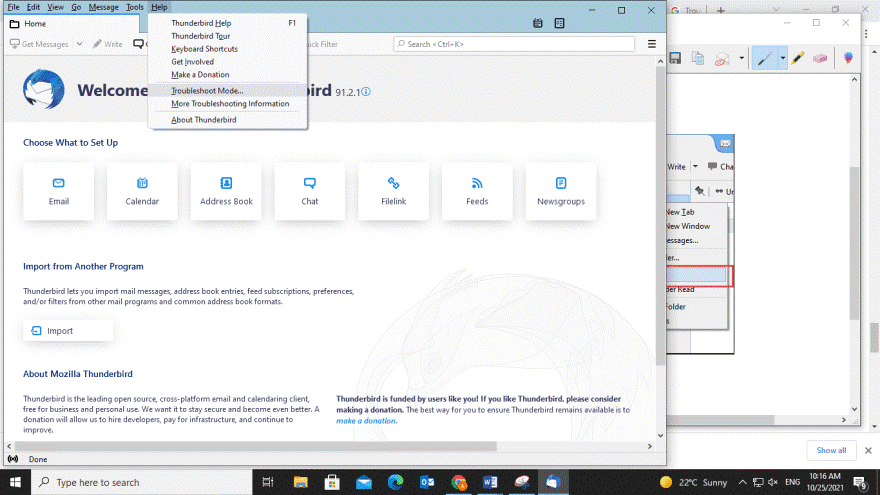
- A new wizard will open, select the Open Folder option in the Application Basics section.
- After that, exist from Thunderbird.
- Access File Explorer and locate the Mail folder.
- Select the folder displaying Inbox Full error message.
- Find the Trash folder and delete the Trash.msf file.
- Restart your Thunderbird and create a new trash folder.
Also Read:- Export emails from Thunderbird to Outlook
3. Update The App
If you have not updated your Thunderbird application occasionally, it may lead to the problem.
For this reason, you should update your app
- Access your Thunderbird app
- Navigate the Help option and hit Thunderbird.
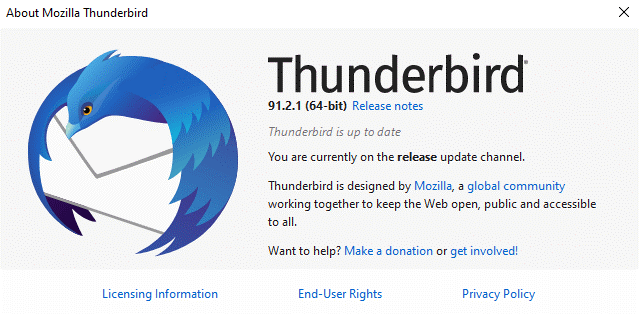
- Here your Thunderbird will automatically update. The problem may be fixed.
4. Delete Thunderbird Emails
Sometimes, you delete an email, but it is in the trash folder. It means, the email has not deleted completely. Hence, it takes room in your Thunderbird. Below are the steps to follow to delete Thunderbird emails.
Start the application
- Go to the Tools > Account Settings > Server Settings.
- Check the box of the ‘Leave messages on the server’ message.
- You can set the number of days you want deleted emails to display. You can also choose the option ‘Until I delete them’.
- Press the OK tab.
Here are two solutions you can follow.
Solution 1 – Move Inbox Emails to a New Folder
In this approach, you can transfer the inbox emails to the folder of your choice in Thunderbird. You can do this either manually or pressing the Shift key to move multiple emails. As the task is done, drag all the emails to a new folder. It will increase the space of your Inbox.
Solution 2 – Delete Emails Directly
You can delete inbox email from your local storage. If your Thunderbird is integrated with POP, all deleted emails will save to your local system. In this way, you can fix the storage issue.
Creating Backup of MBOX to PST
Today, hundreds of Thunderbird users have moved to Outlook. They have found the application robust than Thunderbird. If you want to switch from Thunderbird to Outlook, you can consider MailVare MBOX to PST Converter Free. It is an advanced application to transfer MBOX to PST in batch.
Below are the prominent features of MailVare MBOX to PST Converter.
- Enable batch conversion of MBOX to PST
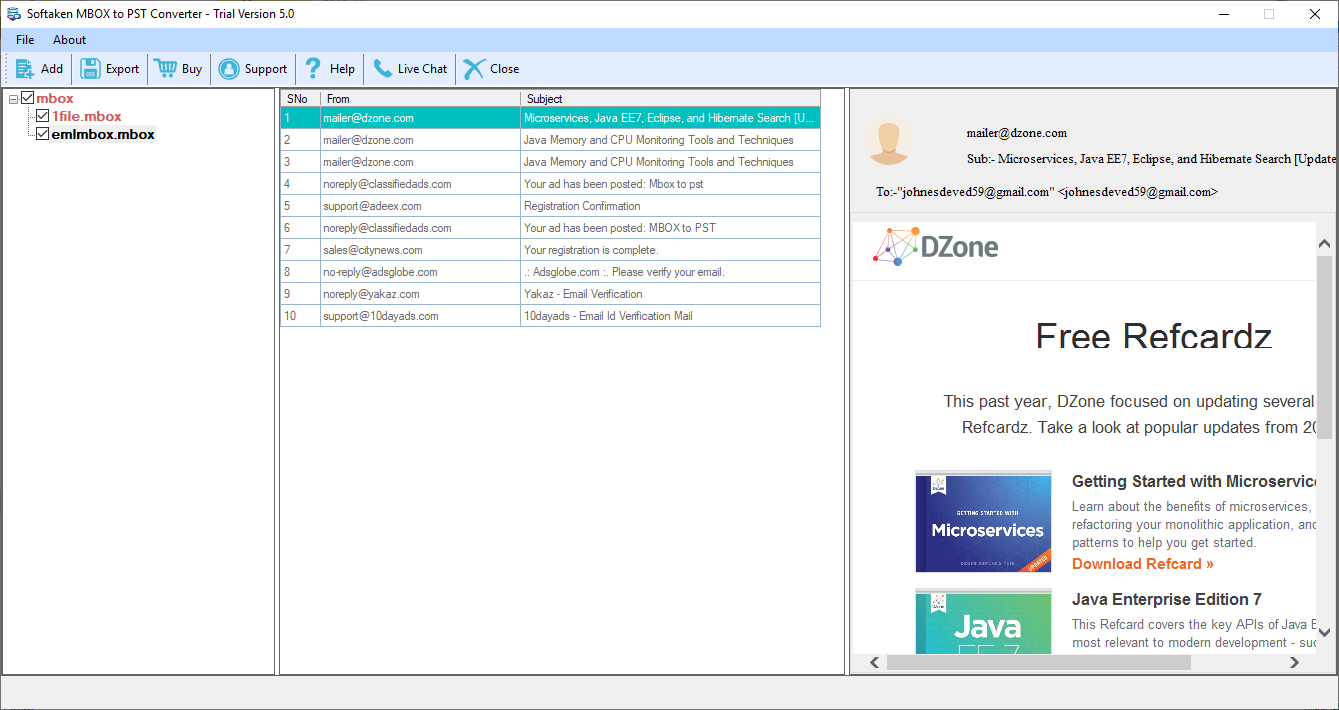
- Display a preview of the uploaded MBOX files
- Save MBOX to PST in a new PST folder, existing PST folder, or create a new folder for each MBOX file
- The license of the app is valid for an unlimited duration
How to Run the Application
- Download and launch the application on your system
- Select an option to select MBOX files
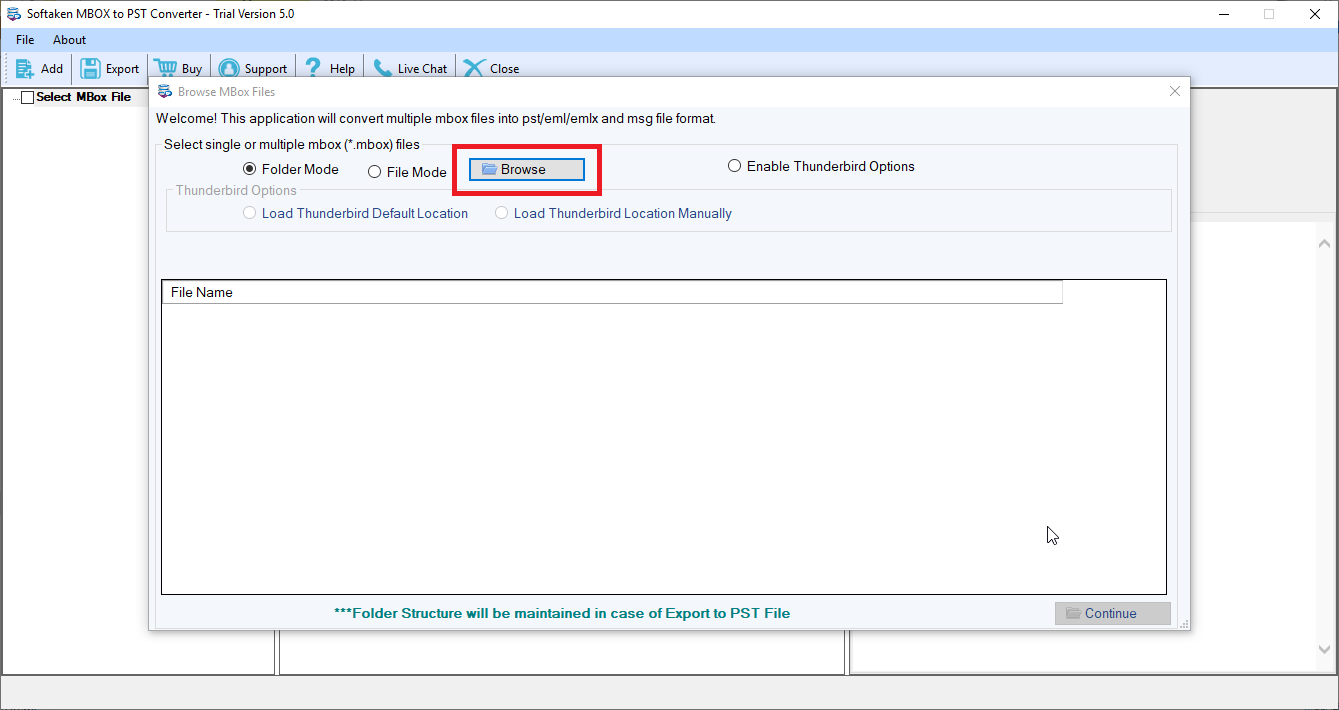
- Get the preview of these files
- Select the Convert to PST and a suitable option to save data from MBOX to PST file format
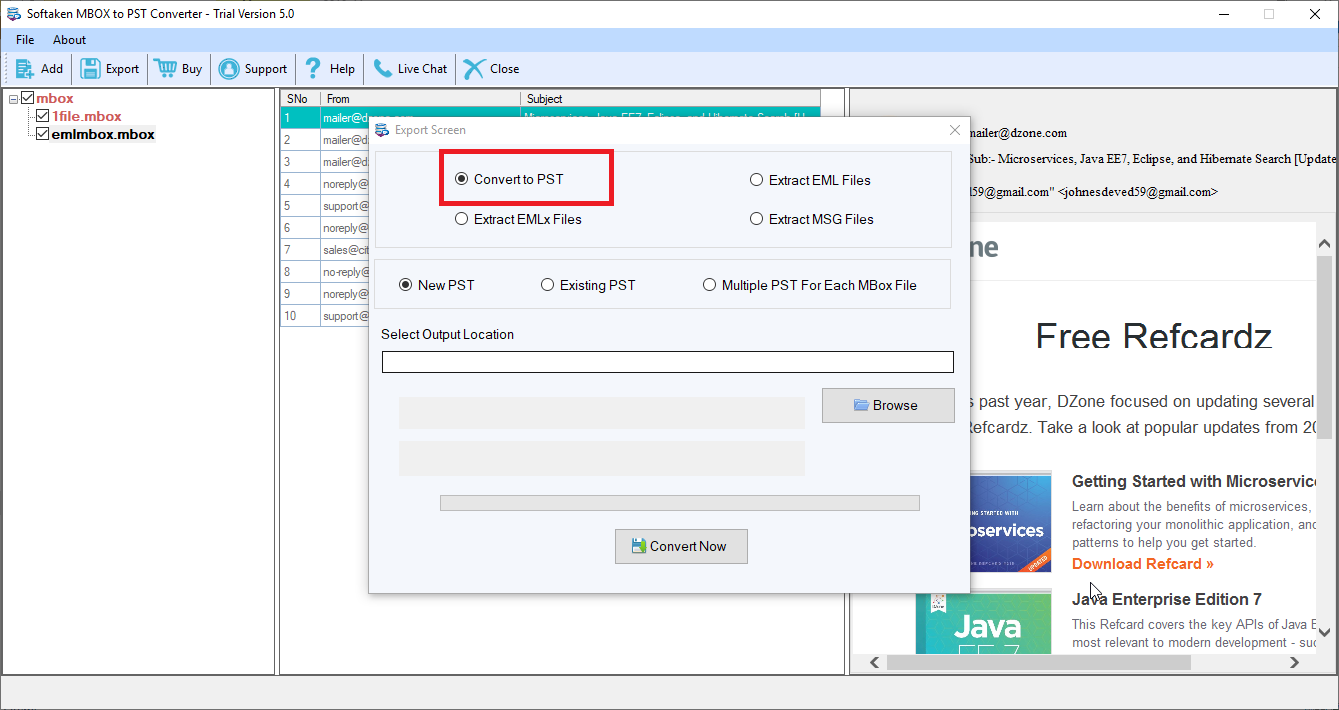
- Click on the Browse button to decide location
- Press the Convert Now button to complete the process
Conclusion
These are the recommended solutions to practice. You can share us which option you find useful to fix the problem.

